

In short: there is no one right height for a wall frieze, but three great classics: at the top of the wall just under the ceiling, halfway up, or above a basement. The right choice depends mainly on the effect you want to create in your room.
Have you fallen in love with a frieze and don’t really know where to place it on your wall? We understand you, it’s THE question we are asked most often! Good news: there is no rule set in stone, just a few great classics that work every time. We explain everything to you, and we even give you our little tip to never make a mistake when installing.
The 3 possible heights to install your frieze
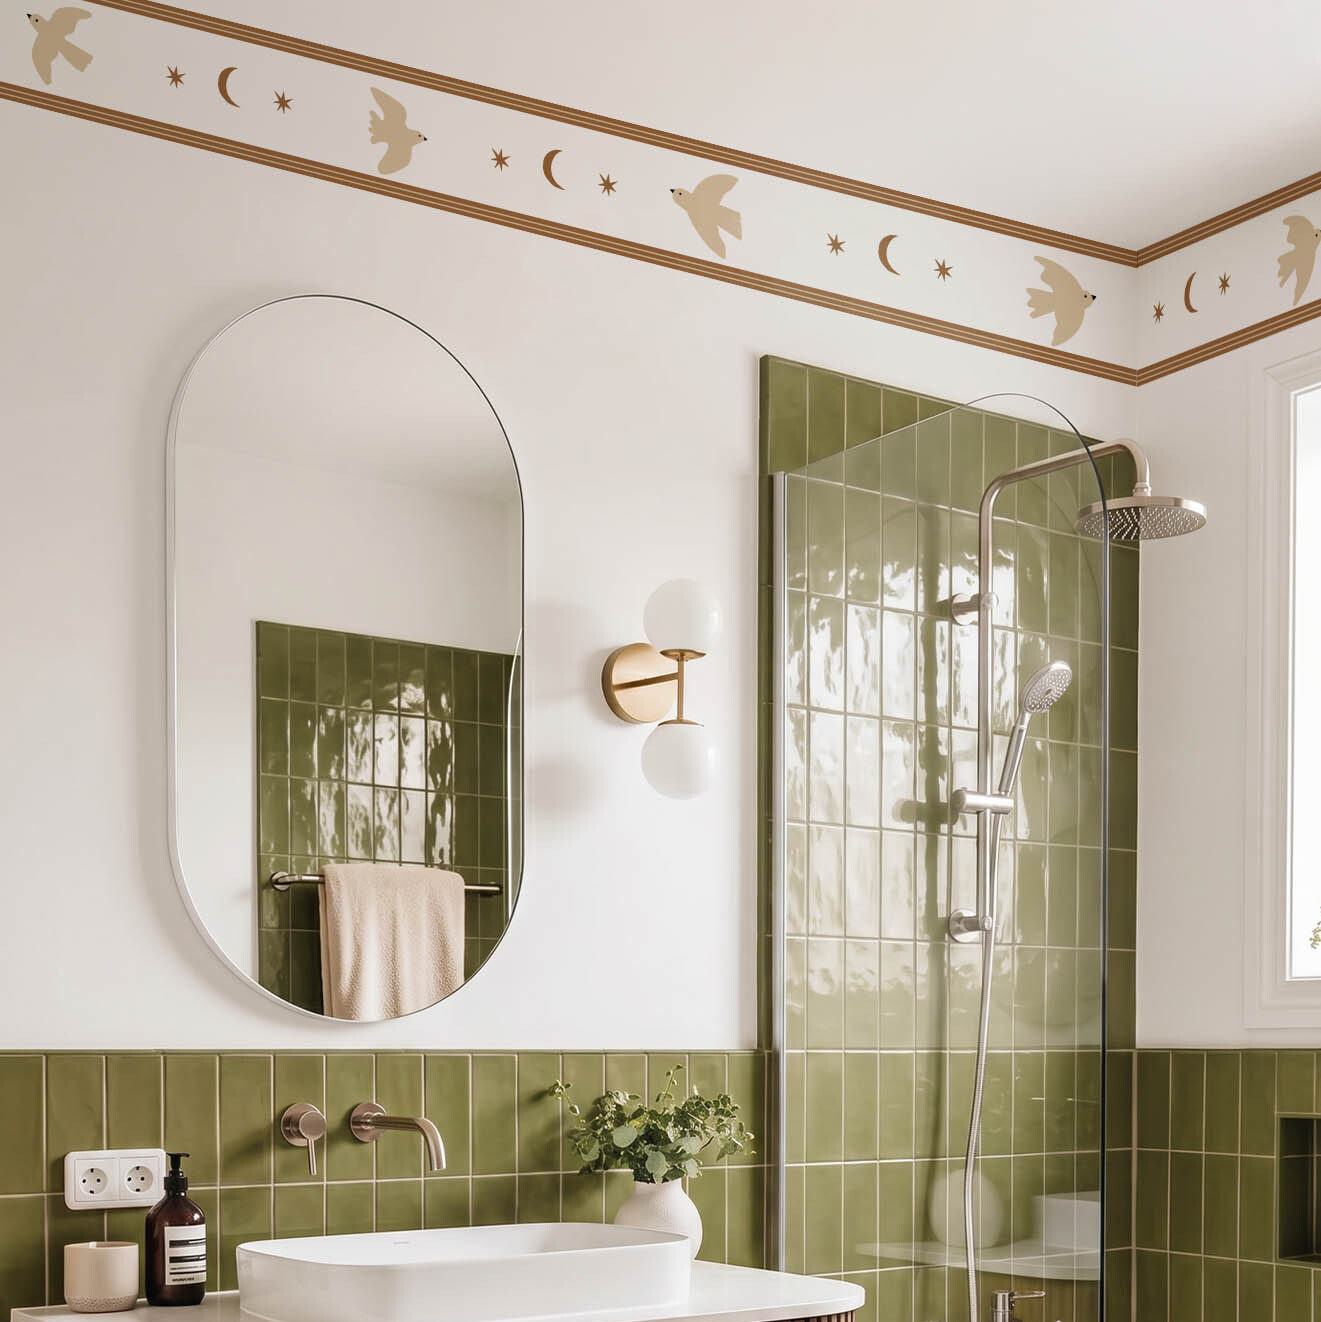
At the top of the wall, just under the ceiling
This is the most classic option, and probably the easiest to achieve. The frieze emphasizes the ceiling, it immediately gives a neat and finished look, and it has the advantage of working in almost any room.
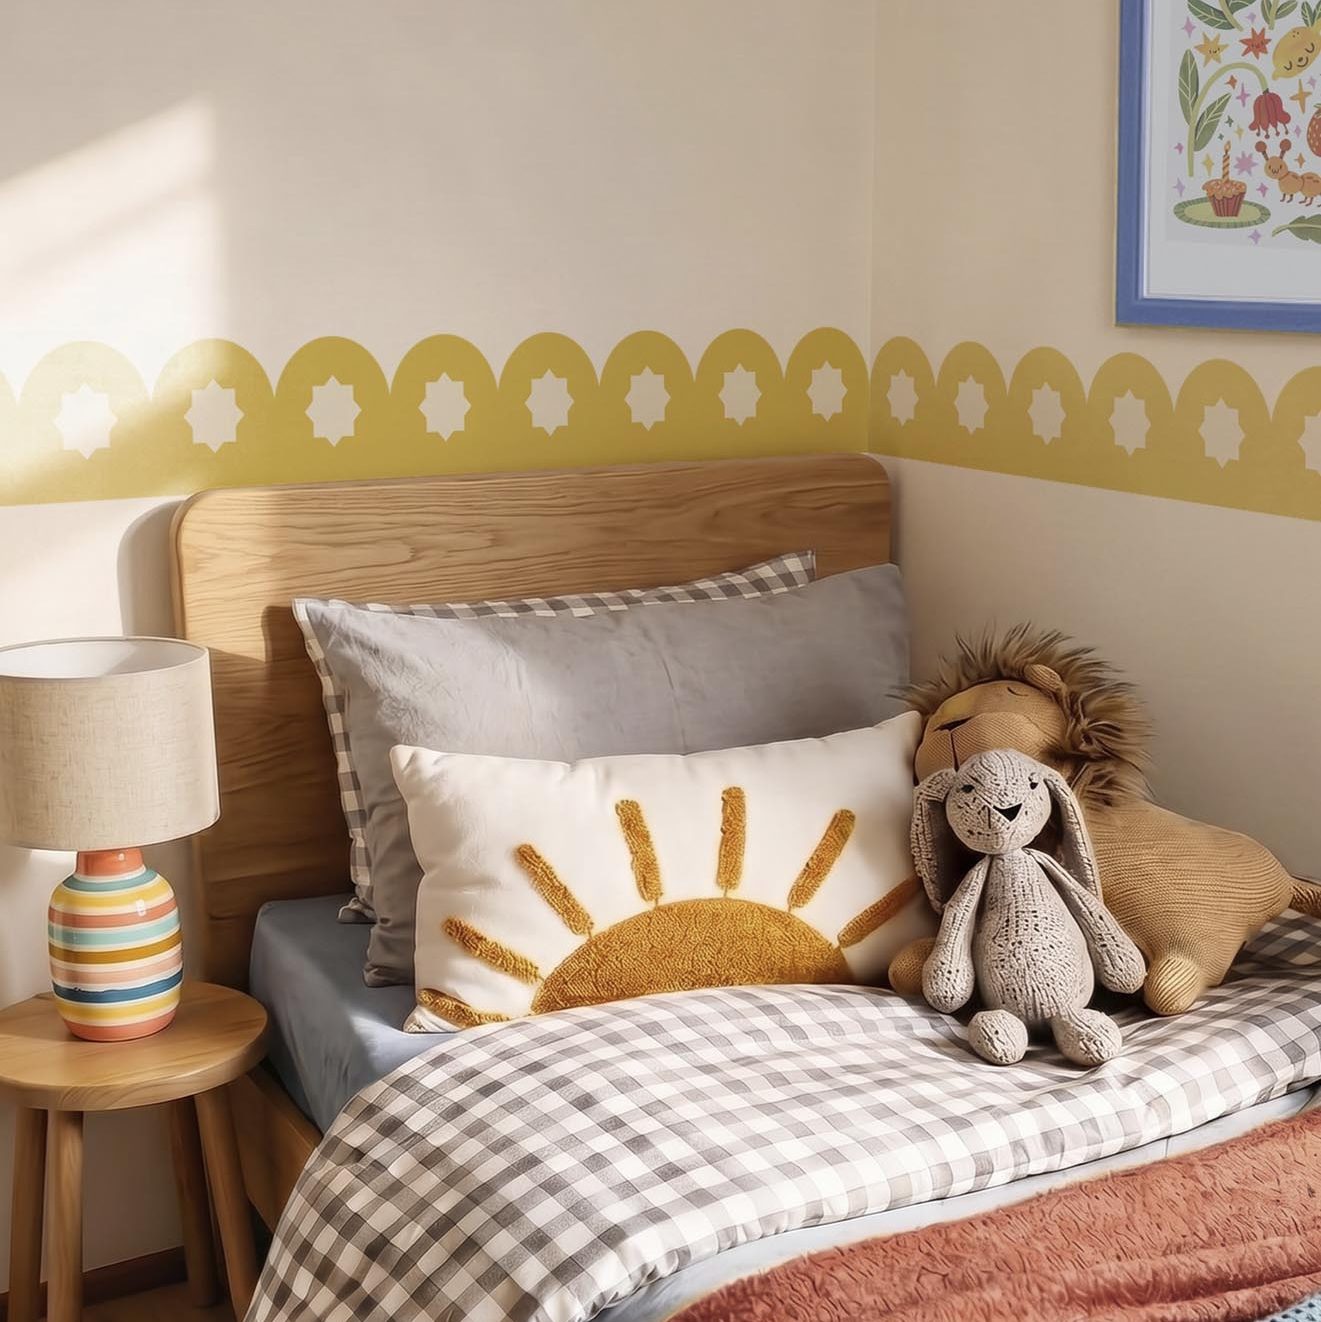
Halfway up, to structure the room
Placed in the middle of the wall, the frieze visually cuts the space in two and creates a real decorative effect, a bit like a belt around the room. It is an option that has a lot of character, perfect if you want to make an impression in a living room or an entrance.
Case in point: In a bedroom, a frieze placed horizontally above the bed creates a trendy graphic effect.
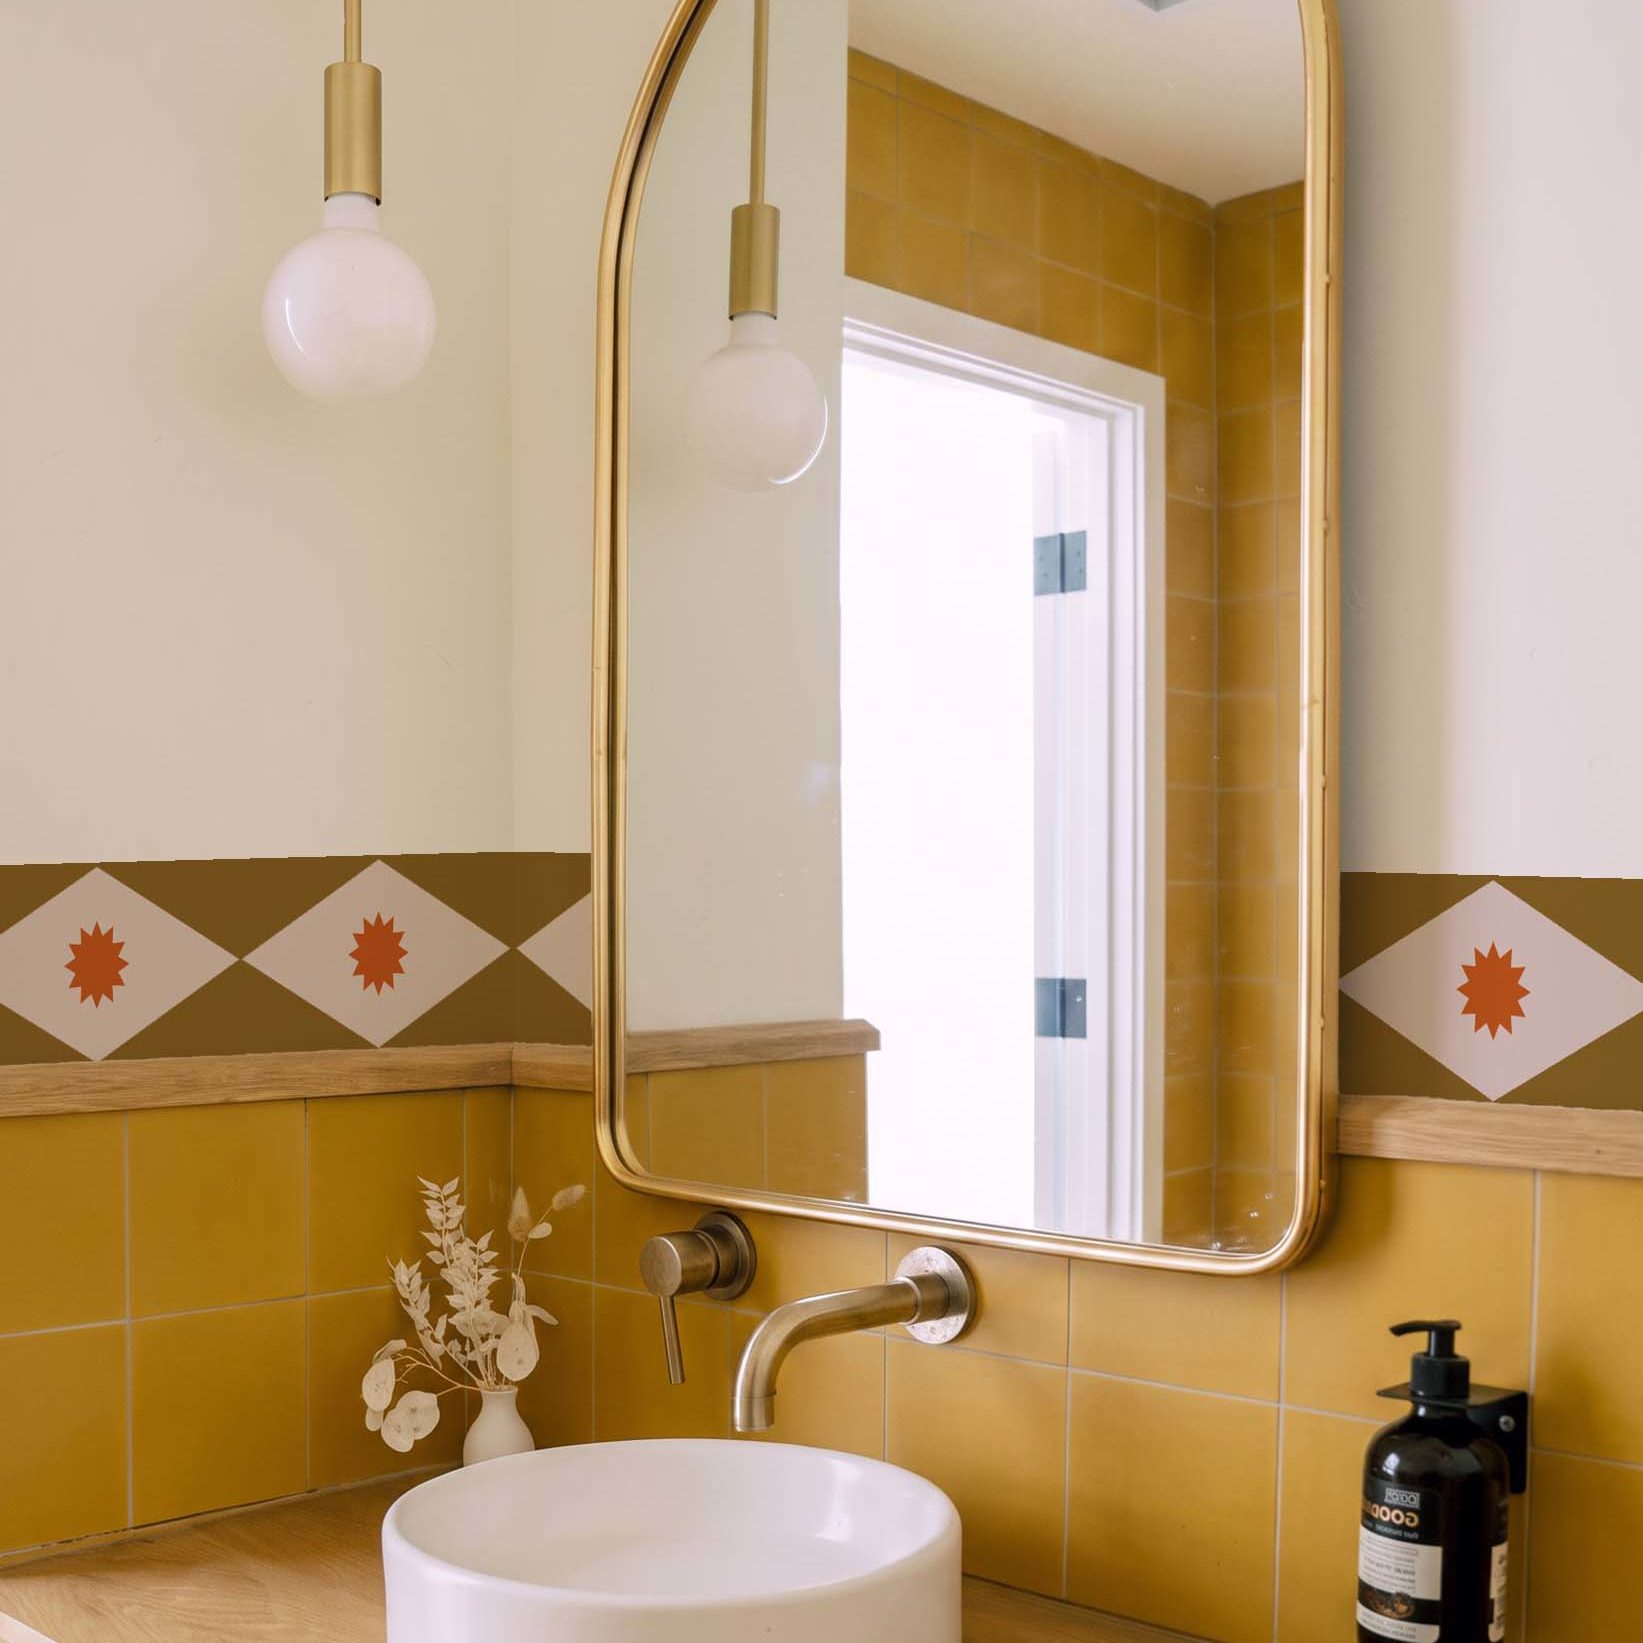
Above the base, for a chic and graphic effect
If you already have a base (this lower part of the wall, often in a different color or material), placing your frieze just above it creates a nice transition between the two areas. It’s a very elegant, almost signature look, which we particularly love at Wellpapers.
And good news if you’re still hesitating between painting and wallpaper for your bottom of the wall: the base can be painted, but it can also be dressed with a colored wallpaper, in a different shade or pattern than the top of the wall. In both cases, the frieze will mark the transition with just as much elegance.
Our tip to make sure you don’t make a mistake before installing
First of all, a little reminder that is important: your wall must be smooth, dry and clean before you start. Once this base is laid, here’s how to proceed simply, step by step.
Start by determining the exact location of your frieze, then draw a marker using a spirit level. It’s really THE gesture that makes all the difference: a frieze, even a beautiful one, is immediately noticeable if it goes a little askew! Two minutes with a level, and you’re ready for the rest.
Once your mark is straight, activate the glue on the back of the frieze by spraying generously with water, without forgetting the edges. Then position the frieze following your marker, and smooth it from the center to the sides to chase away any small air bubbles. As long as the glue is still wet, you can adjust it slightly if needed, so don’t stress if it doesn’t look perfect the first time.
All you have to do is clean the excess glue and cut out the excess if necessary. And there you have it, your frieze is laid up, straight, exactly at the height you chose!
If you don’t have all these tools on hand yet, we have prepared a complete installation kit with everything you need, so you don’t have to look for anything on your side.
How to choose the right height for your room
The most important thing is to start with the effect you are looking for. Do you want a discreet and neat look that highlights a beautiful ceiling height? Instead, go for an installation at the top of the wall. Do you want to break a wall that is a little too bare or bring character to a living room? Mid-height is often the most impactful choice. And if you are lucky enough to have a basement, it’s almost a gift: the frieze will sublimate this transition naturally.
One last simple piece of advice: in a small room or a room with a low ceiling, a frieze placed too low can tend to crush the space. When in doubt, installing it at the top of the wall remains the safe bet.
Still in doubt about the final result? Our simulation tool allows you to visualize your frieze directly in a room before you start, it’s often the little help that helps to decide.
Our Wellpapers friezes, the novelty of the moment
We are particularly proud to present our very first collection of wall friezes, just arrived at Wellpapers! As with all our wallpapers, they are carefully designed to adapt to all decorating desires, whatever the height at which you choose to install them. Head to our collection of wall friezes to find the one that suits you.
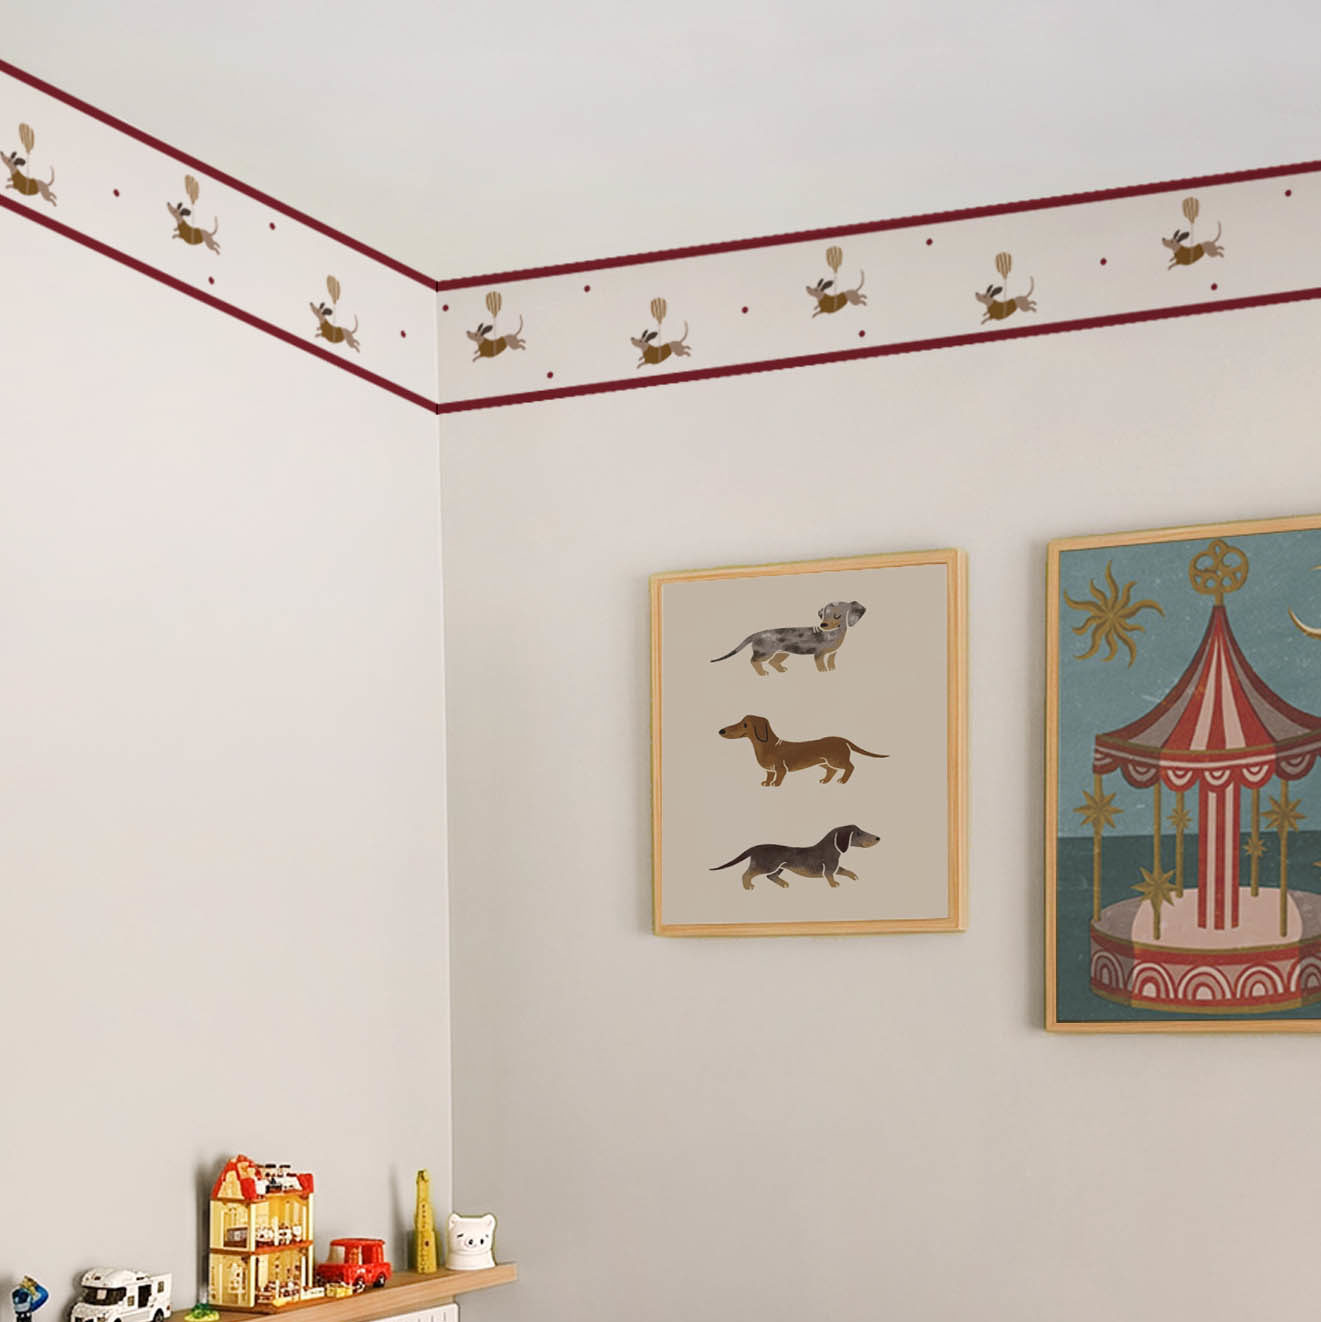

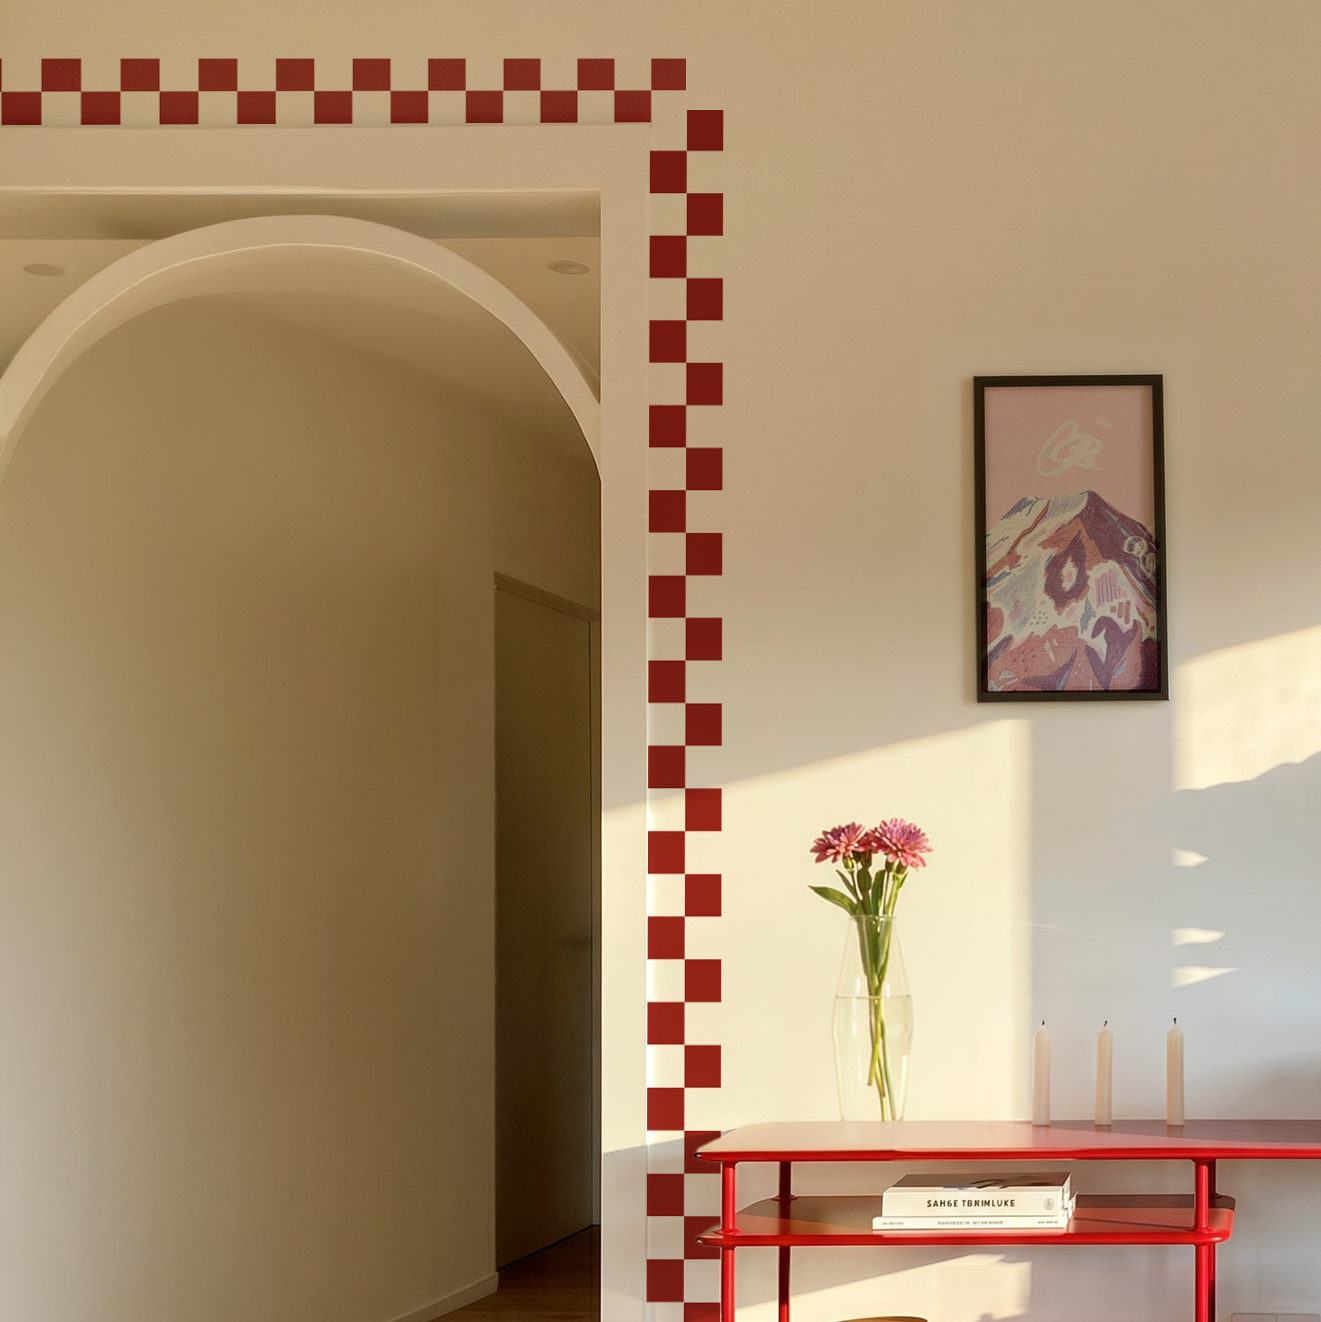


In short, whatever height you choose, the main thing is that you like it and that it looks like you. And once your frieze is installed, we’d love to know what you think of it!
Your most frequently asked questions
Can you put a frieze on a wall that has already been painted?
Yes, no problem, as long as the support is smooth, dry and clean. A frieze adapts to a painted wall as well as to a wall already covered with wallpaper, which is precisely what makes it such an easy way to give a room a makeover without redoing everything.
Is a frieze suitable for more humid rooms such as the bathroom?
Absolutely, as long as you check the characteristics of the chosen product and ensure good ventilation of the room, as with any wallpaper. It’s even a nice way to bring style to a bathroom without covering it entirely.
Do you need any special know-how to install a frieze yourself?
Not at all, this is precisely one of the great advantages of the frieze: you don’t need to be a DIY pro. With the right tools, it’s a completely accessible project to do yourself, even for a first installation.
Do you have to follow a specific order if you install several friezes?
No, no order is imposed. You can chain them one after the other, in the order that suits you best.
If
you are preparing your installation project, these articles should help you:
Related Posts